


Search


Intro to Automations
Say goodbye to mundane, manual tasks and embrace a world of seamless workflow automation.
Let's explore some basic examples of how Automations can transform your experience:
- Watch ideas move to specific phases automatically when pre-defined conditions are met, streamlining your workflow effortlessly.
- Send custom emails to specific user groups automatically when assignments are ready for their input, ensuring efficient collaboration.
- Keep your colleagues and collaborators informed via emails as their Ideas move though your innovation funnel.
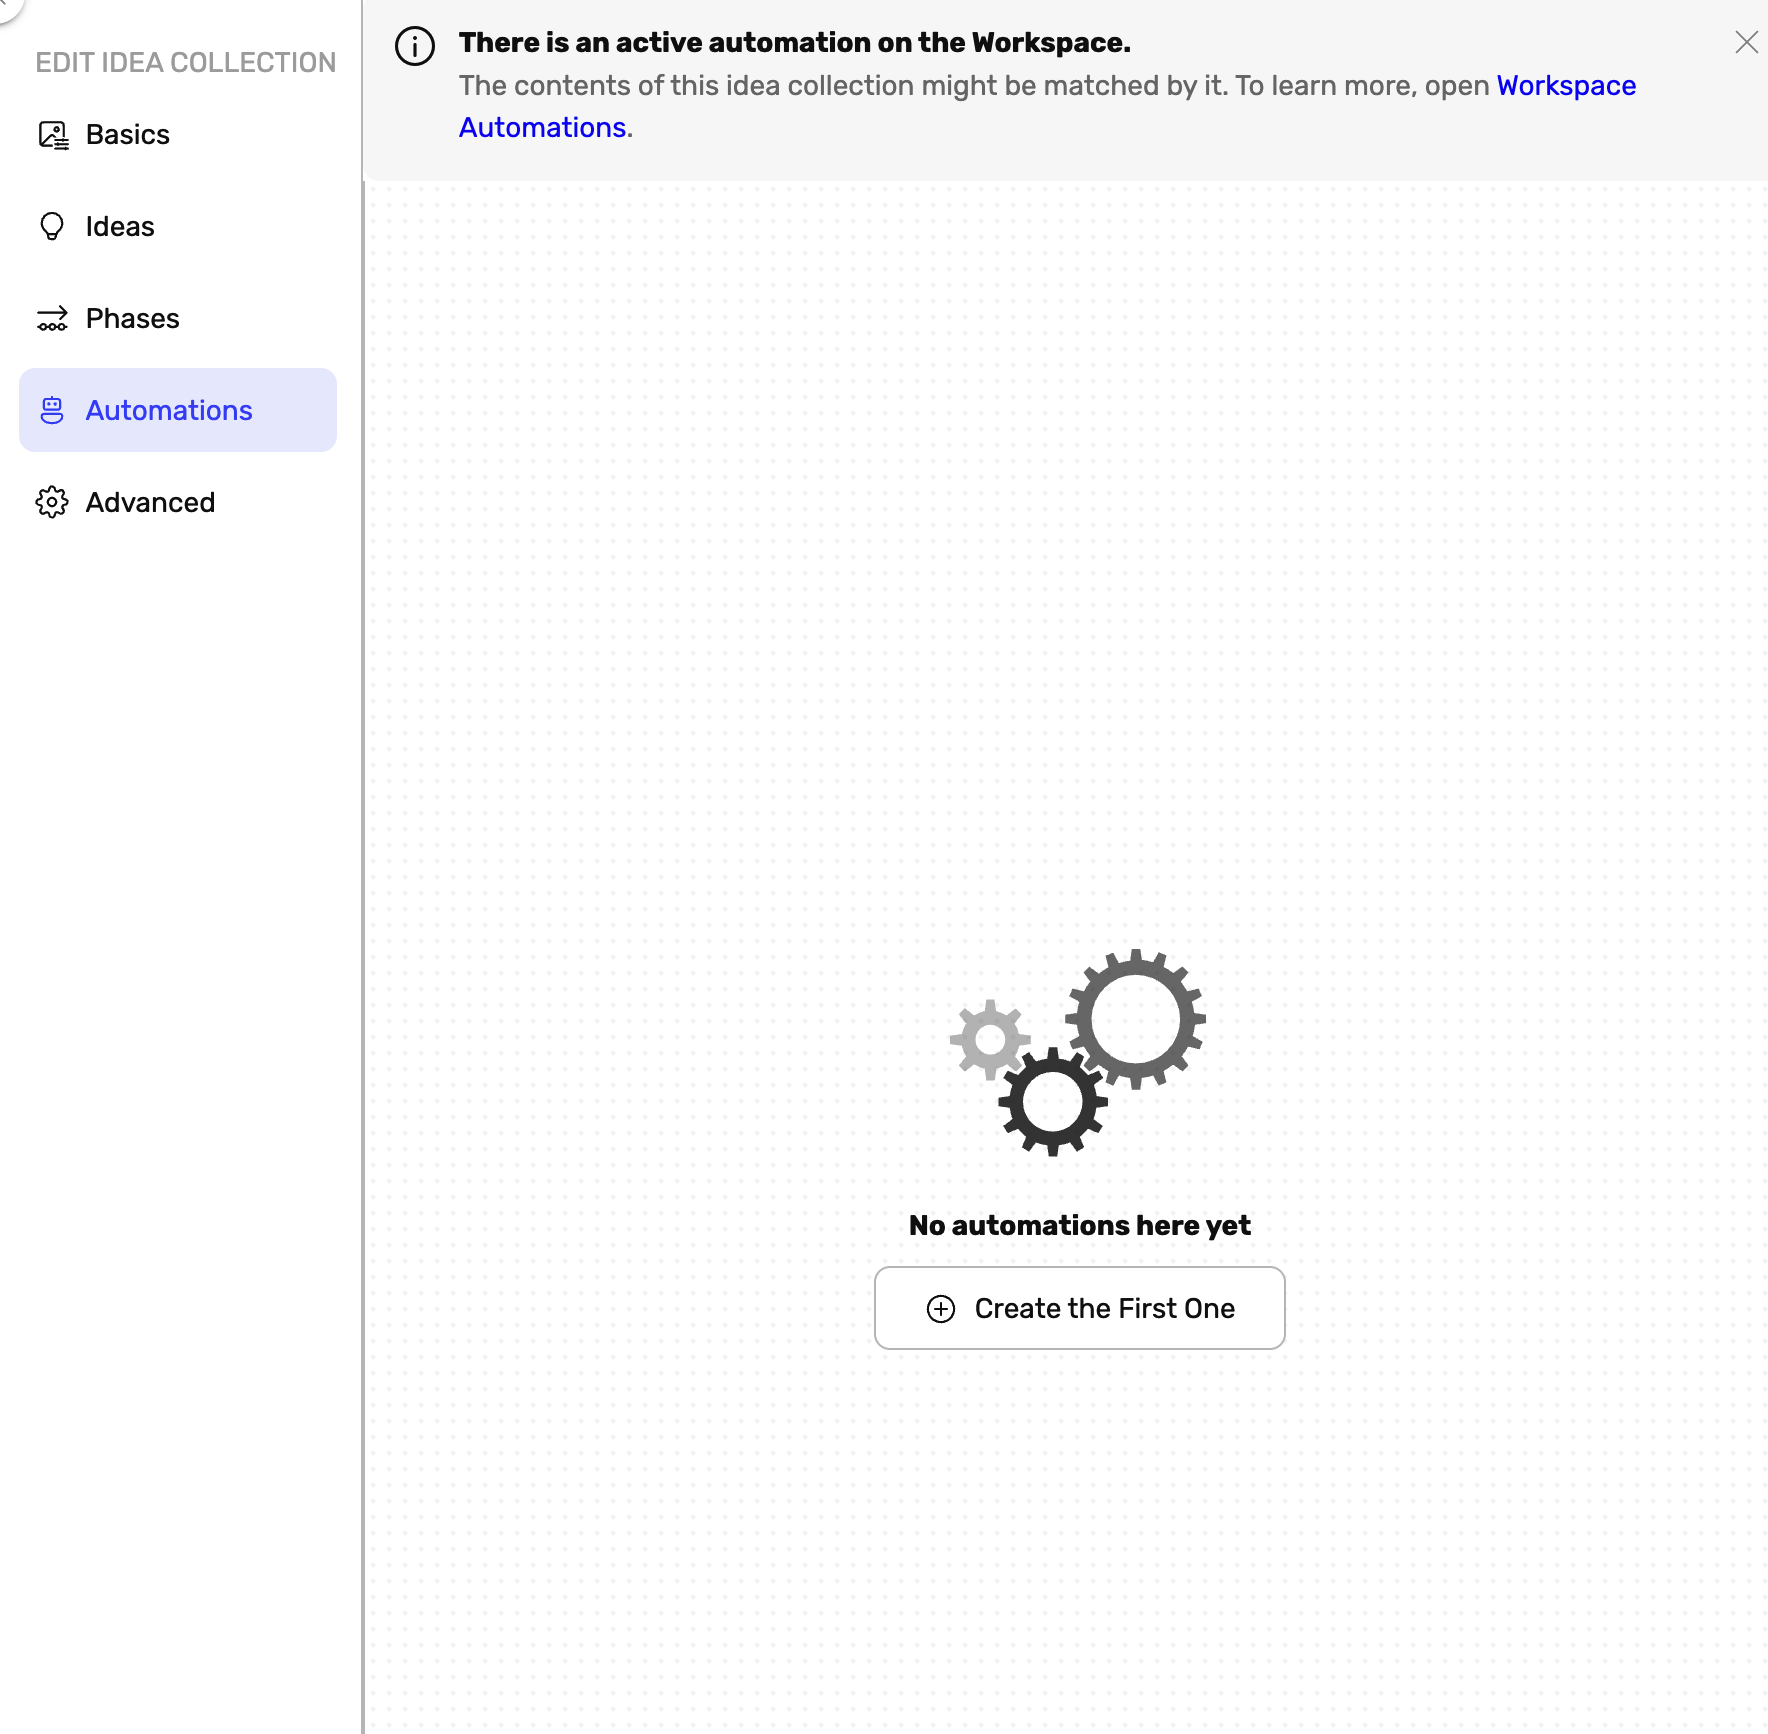
Create Automations at the Workspace level or Idea Collections level, tailoring them to your unique needs.
Automations created at the Workspace level apply across all Idea Collections, making your automation strategy seamless and consistent.

Configure an Automation
There are 4 key steps in setting up an Automation:
- Trigger - This first step defines the "What"
- Delay - This second step is optional and defines the "When"
- Conditions - This third step is used to define Criteria to be met
- Action - This fourth step defines the "Outcome", what ought to happen
In summary to set an Automation, you need to select the Trigger, then set the Delay (optional), then define the Conditions (if applicable), then select the Action.
Was this page helpful?
.svg)
